
Today I had a phone call with a representative of a company that provides turnkey makerspace solutions for schools. We had both attended MakerCon, a conference on making and education at Utah Valley University two weeks ago. Our conversation zigzagged through a number of topics that are important to me and that I want to share here.
The Maker Movement has brought interesting innovations to education, but much of the hype surrounding it has not been born out because, as in many cases with educational technology, training has lagged behind hardware implementation. Yes, it’s great to have that 3D printer in your classroom but you need more than just training on how to use the hardware; you need training on why to use the hardware and how it benefits your curricula and students. How can making be seamlessly blended into your lesson plans, classroom practices, and pedagogies? Maker technologies should provide added methods and avenues for student learning and engagement beyond traditional instructionist practices; they should support your curricula, not detract from it. Otherwise, once the novelty has worn off, that shiny new 3D printer or CNC laser cutter will just gather dust in the corner and become an expensive paperweight because it didn’t help improve your practice as an educator.
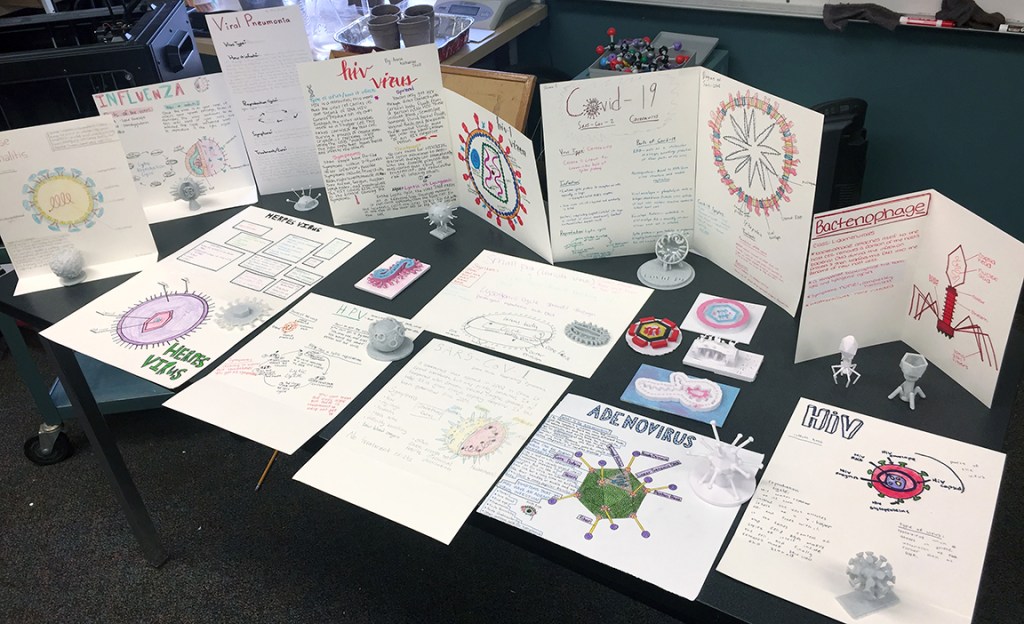
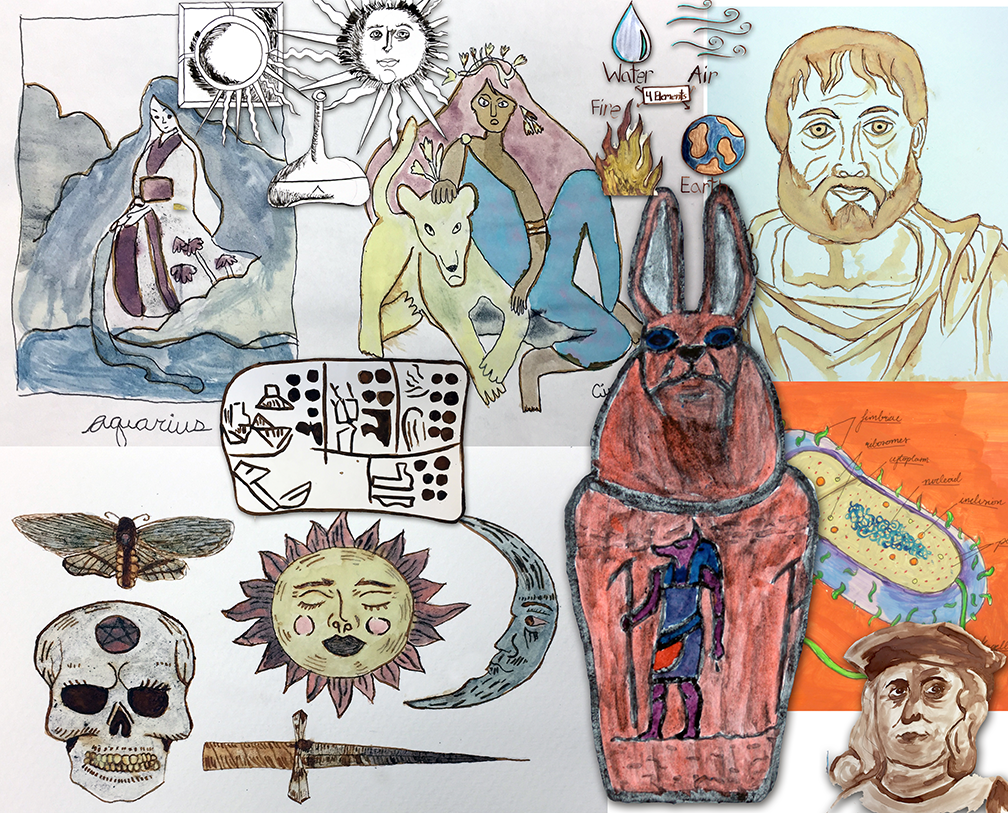
Let me give you an example of how it can be used seamlessly. While teaching at New Haven School, a residential treatment center for girls with severe emotional trauma, I discovered that allowing students to choose how they demonstrate their learning led to greater creativity and student engagement. Most of the time, students could choose their own projects including topic, medium, and approach (3D choice). Sometimes we did engineering design projects or contests. Sometimes we built a single project together as a class. For a unit on microbiology, I had students choose a microbe (virus or bacteria) and use Timkercad and/or SculptGL to build their own 3D model. We then used a 3D printer to print out the microbes, and students could use acrylic paints or nail polish to paint their models. They also had to create a display caption on card stock with a drawing of the microbe, a description of how it enters the body and reproduces, its symptoms and effects, and treatments if any. I put all the models with the caption cards and created a Microbe Mini Museum display in our classroom.
In this example, learning about microbiology and the properties and life-cycles of microbes was the goal or educational standard we were fulfilling. By having students choose and create their own microbe, they had to learn all about its structures as they modeled, printed, and painted it. They learned its life-cycle and symptoms by drawing the caption card. Their scores on the unit test were excellent, and I didn’t have to teach them much about it – they looked up the information they needed themselves because they started with the seed of a creative activity. They used a multi-modal approach with both 3D modeling and printing combined with fine art skills. In the future, I would open up the choices more to include a full-scale working museum display with printed text, digital images, QR codes linked to audio and video assets and 3D animations, with student groups working together to plan and coordinate their displays.

It is my contention that making is more than having a fancy CNC laser engraver, a Cricut vinyl cutter, and/or a 3D printer. It includes all of the software needed to design all of the parts of a multi-modal project using multiple forms of media, both physical and digital, each with distinct literacies including affordances, conventions, limitations, and semiotics. Adobe Photoshop and Premier are every bit as important for making as are printing, cutting, and engraving hardware. And now browser-based software such as Photopea, Tinkercad, Wick Editor, and Scratch can be more accessible, used on more types of devices, and every bit as powerful as the commercial programs. They are valuable additions to any makerspace.
Therefore any implementation of makerspaces in educational settings (and many other settings) must rely on training not just on using a particular piece of equipment, but also the creativity software that can make the equipment useful. And even the creativity software should be tied to specific academic projects that will effectively help students learn both creativity and required academic standards.
One mistake often made in high schools is to silo different types of education, so that makerspace equipment becomes the province of Career and Technical Education (CTE) programs and taught completely separately from academic subjects. I have taught exclusively in small schools (on purpose) where such subject area silos are missing so that teachers teach multiple subjects and can more easily access and integrate maker tech with regular classes. Could a 3D printer be useful in a history class? Of course! Think of just a few possibilities: Creating a 3D display of the Battle of Lexington which started the American Revolution combined with first-person primary accounts so that students can examine and determine for themselves who fired the “Shot Heard Round the World.” Now combine that with digital images, animations, video production, and other forms of digital media and you have a memorable lesson that teaches social science standards effectively. Here’s another one: 3D print the parts and assemble a working model of Gutenberg’s printing press. Or print out 3D models of Renaissance sculptures by Michelangelo, Donatello, and the rest of the Teenage Ninja Turtles and design interactive animations comparing their styles, or 3D prints of architectural works, videos or presentations of paintings, etc. to create a history unit using modern art technologies to learn about Renaissance master works. While they’re at it, students can research the science and technology available at that time – where did Michelangelo get the pigments and materials for his frescos in the Sistine Chapel? How did Brunelleschi design and build the Duomo in Florence? This entire unit can be multidisciplinary and extraordinarily interesting and meaningful for students as they pursue their interests within a larger curricular unit.
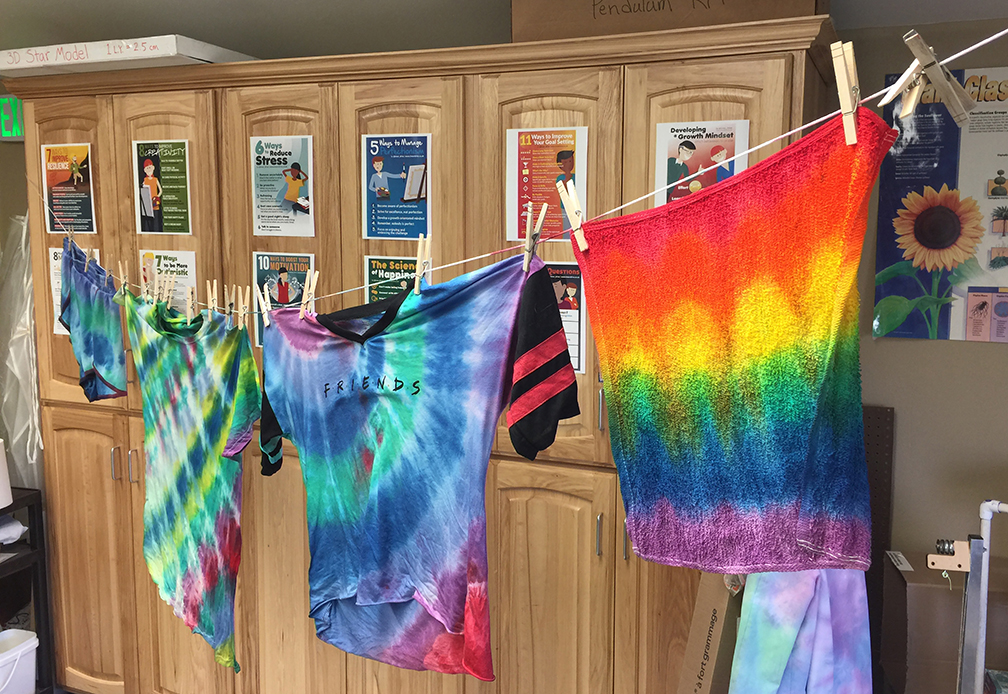
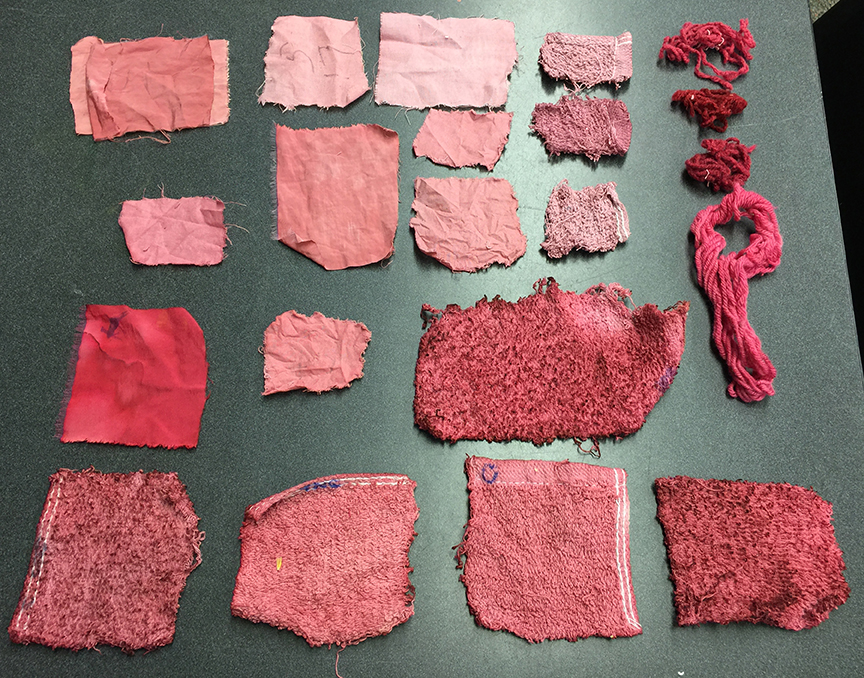
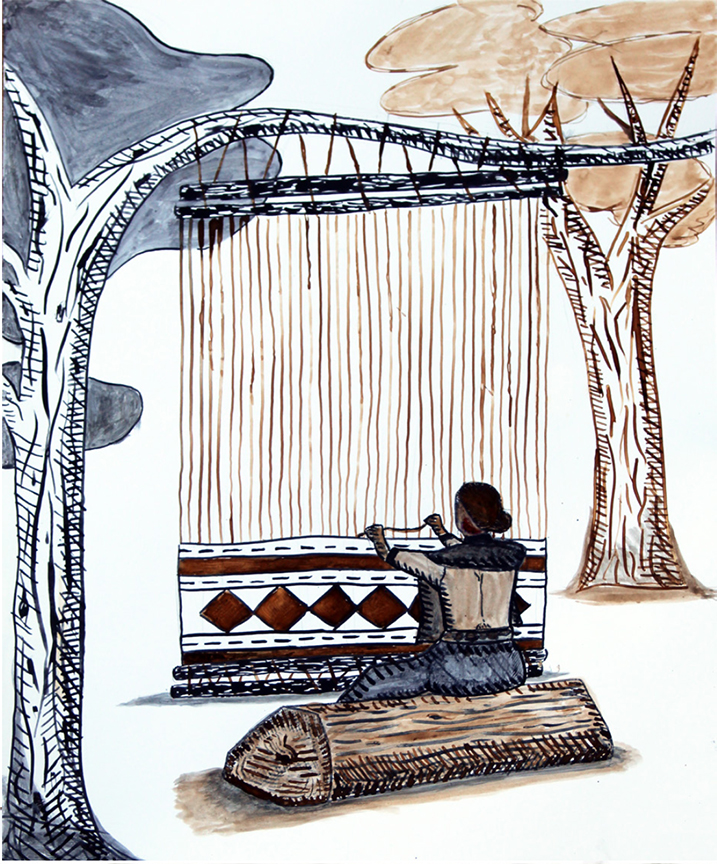
Likewise, with a bit of imagination and thoughtfulness, a classroom makerspace can be used effectively and purposefully by an English teacher or a math teacher or in any academic subject. Making should not be divorced from learning; they complement and build upon each other. I have found great success combining concepts from art, history, technology, and science. My students used natural dyes to dye cloth, devising inquiry labs where they identified and controlled variables and tried to determine how ancient peoples may have used these dyestuffs. They used naturally dyed yarn to crochet hats and blankets, weave cloth, create tie dyed shirts and batik, etc. Then they used digital cameras and desktop publishing software to write essays on self-chosen topics. I hope to compile all this into a master student-created book someday, or at the very least use it as examples for a series of books I intend to write on creativity in education.

The Cosmic Creator Challenge that this website is designed to support is one step in that process. If it can show that students, even as young as sixth grade, can learn and use digital media software to create their own educational media, then what might be accomplished if we go a bit deeper and truly integrate making, creating, designing, building, etc. with academic subjects? How might that improve student engagement and retention? My belief is that it will make a huge difference.

Leave a comment